Tutorials


    Here are links and reviews/results of the blender tutorials available from the Blender Web Page, and the Getting Started with Blender page.
    The best place to start is at the beginning, and this is the exact order in which I did these tutorials. I suggest you stray very little from this order.
    Have fun trying these out!
    By the way, on your journey to Blender, I wish to impart some valuable advice: SAVE OFTEN. I know you've heard this before, but this time, it's not only to prevent losing your work if there's a power outage or something similar, it's to get more comfortable trying new things. One nifty thing about Blender is that using the file menu, you can easily restore the last-saved version of your project. So you can effectively botch the entire thing, and restore all with a click of the mouse. I strongly encourage it for that reason.


This is the goal for the reflections tutorial.
        
           I didn't think this tutorial was very good for a beginner.
           Here is my review, and suggested suppliment to doing this one.


This is the goal for the winter scene tutorial.


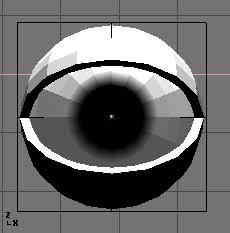
            I thought this tutorial was excellent. It was very well
            written for a beginner, and here is what I got.


This is the goal for the subsurf modelling tutorial.

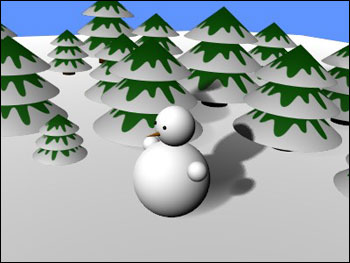
            This tutorial was written by the same guy that did the winter
            scene. It is just as clear and fun to do. Isn't it amazing how
            fast we can make cool stuff in Blender? Here's what I got.

            NOTE: The time has come for another bit of advice.
                        By this time, you've seen a little bit of everything
                        you need to start making some seriously pretty things.
                        Can you feel it? Texture mapping is coming up!

                        Don't feel bad if you're not completely comfortable
                        with materials and lighting yet. That comes with
                        playing (I mean, practicing) with stuff you already
                        have (remember the Save Often rule!).

                        What I'm saying is to start a collection of pictures:
                        pictures of bricks, marble, sky, splotches, grass,
                        water, anything and everything you think you'll
                        need soon! There's tons of stuff online. And feel
                        free to try making your own if you like.


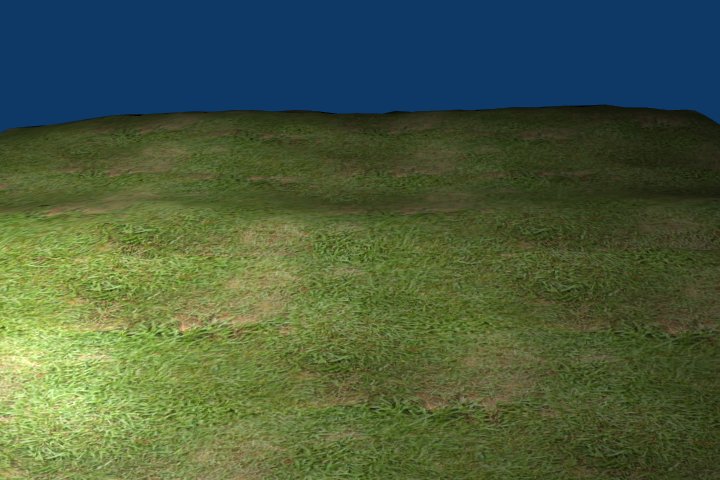
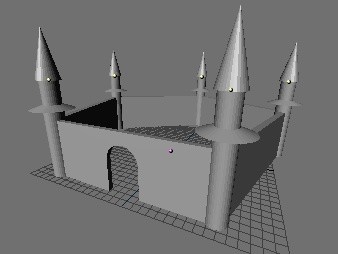
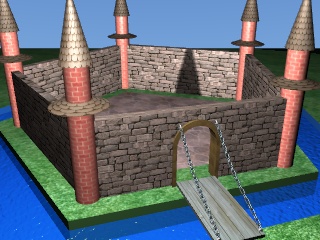
This is what the goal was for the Hillside tutorial.


            This was a very nicely written, and very short tutorial.
            The goal is to give a little practice with Edit Mode, selecting,
            moving, grabbing, and scaling. Finally, it lets you do a texture
            map. It's very nice for a beginner. If you're like me, and have done
            the other three before trying this, this should be a quick project.
            But no less fun! Here's what I got.


This was the goal for the Eyeball tutorial.

          This tutorial was cool. It's simple and well written.
          Where are the other parts, you ask? Under construction, I answer.
          Here's my eyeball.


Castle!
This was the goal for Building a Castle.

          This is part one of two castle tutorials by Bart Veldhuizen. I think
          of it as one big tutorial, and I did them as such. I had a great time.
haha
This is the goal for texturing your castle nicely.

            Since, as I said, I did these two tutorials together, I only
            got one finished product to show you. :)
         
             NOTE: At this point, textures and materials should be easy
                         enough to do. You should be wondering about other
                         things. Like lighting. Or animation. Hmm. Funny
                         I should mention that.


Well, I wish I could say I found the world's greatest animation
tutorial for beginners (such as myself) online, but I'd be lying.

I found some nice ones, don't get me wrong, but they were more
along the lines of "do this" and then "now set this" to which my
only question was HOW?

So I went back to the book! The "Blender Basics: A Classroom
Tutorial Book
" I started with on day one! (If you haven't
downloaded it yet, DO!)

Looking through the Intro-to-Animation section, (starts page 45),
I was able to learn what a key frame was and how to make one.

Using key frames, and becoming very friendly with the "i" key,
I was able to make my first animation. The following is a tutorial
for the fellow beginner. Enjoy.

One parting word: The book above is really an excellent resource.
I suggest using it as a suppliment to the online tutorials for
successful Blender use.